
On occasion, you may work with stakeholders who use a solution other than Civil 3D. When this happens, Civil data is often exchanged via LandXML files. That said, once a LandXML file is imported into Civil 3D, it can be challenging to swap it out if updates are received in the future.
In this session, we’ll look at a workflow to manage updates to a surface created from LandXML. On my screen I have a drawing that represents some proposed lot geometry for a project that I’m working on called Kensington Square. In fact, if I come over to the prospector tab and drag down to the bottom and hover over data shortcuts, we can see the name of the current project right there.
Let’s say that a surveyor has sent me the existing topography for this site, and they sent me that in the form of a LandXML file. To incorporate that data into my project, I’m going to start by creating a new drawing. I’m going to open the application menu, and I’ll choose new. I’ll select my default template, and I’ll click open. I will then insert that LandXML file into this drawing. We’ll do that by going to the insert ribbon tab. I’ll choose LandXML. I’ll select this file called TOPO V1. You can already see that we’ll be coming back and adding an updated version in just a little bit. For right now, I’ll select V1 and click open and OK. The panorama reports that everything has been added successfully. I’ll click to close this, and we can see that surface onscreen.
At this point, I could create a data shortcut to share this surface with my project. However, if I were to receive updates or additions to this surface as a new LandXML file, it could be challenging to pass those changes along to the affected drawings. Instead, I’m going to create a new surface, and I’ll paste this surface into it. I will then share that new surface with my project. This way, if I receive updates to the existing topography, I can simply add to or swap out the data in the shared surface, which would then update all affected project files.
Before I create that new surface, I am going to hide this one. I’ll do that by selecting the surface and I’ll go to the properties palette, and we’ll change its style to this one called no display. That will hide all of the components from screen. To create the new surface, we’ll come back to the home ribbon tab, I’ll open the surfaces menu, and I’ll choose create surface. I’m going to call this surface, EG for existing ground. I’ll keep the default existing one and five contour style, and I’ll click OK.
If we come back to the prospector tab and expand the surfaces group, we can see this drawing contains two surfaces. I would like to paste the contents of this V1 surface into EG. To do that I’ll expand the EG, and then I will right-click on edits, and I’ll choose paste surface. I would like to paste the TOPO V1 surface, and I’ll click OK. You can see the result onscreen. Let’s collapse this. At this point, the EG and V1 surfaces are identical. In fact, if I select the EG surface and choose surface properties, here on the definition tab we can see the only activity or history in this surface was when I pasted that V1 surface.
Let’s click OK, and I’ll press escape to deselect. I will then save this drawing. I’m saving it in the Kensington Square project, and I’ll call this drawing X-TOPO, and I’ll click save. Now, I’ll create a data shortcut so I can share this surface with the project. We’ll do that by coming up to the manage ribbon tab. I’ll choose create data shortcuts. I would like to share the existing ground surface, and I’ll click OK. Now if I drag down to the bottom of the prospector inside the Kensington Square project, if we expand surfaces, we can see that EG surface right here. Once this surface has been added to the project, we will reference it into another drawing.
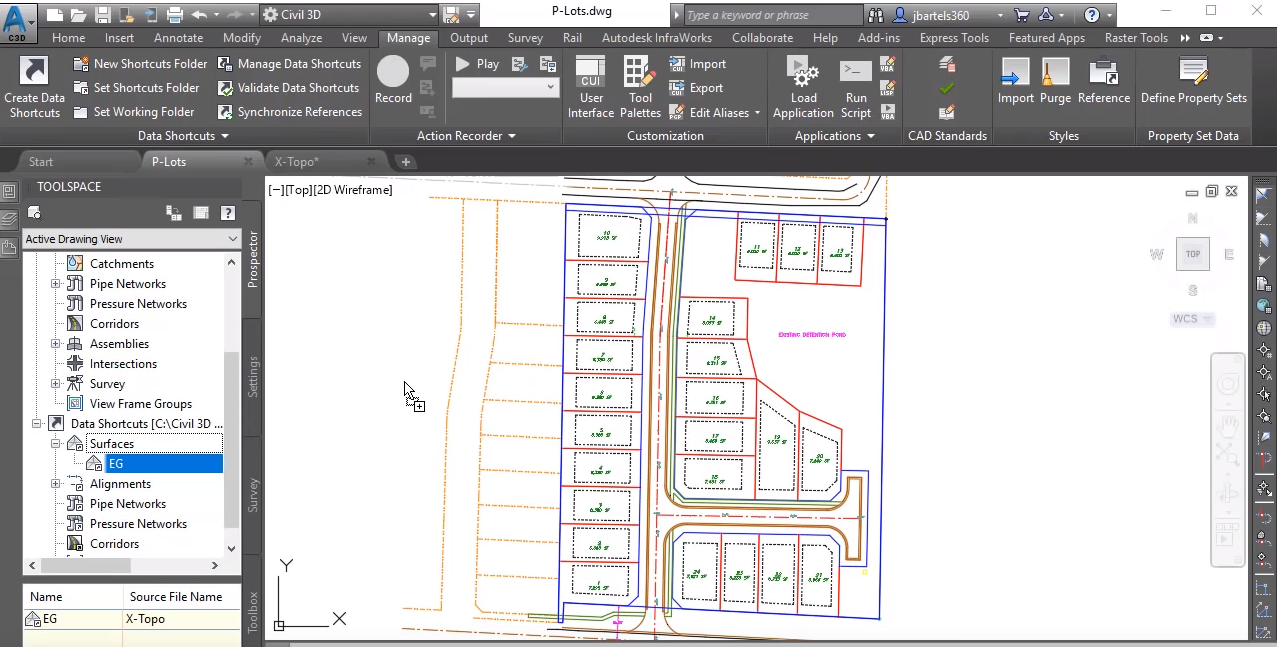
I’m going to jump back to the PLOTS file, and then I can reference that surface by dragging down to the project area. I will then select the existing ground surface and then I will click, hold, drag and drop that surface into the interface. We’ll keep the default name and style, and I’ll click OK.
Once the surface has been referenced, we’ll do some things with it. I’m going to start by adding some labels. I’ll select the surface, and then from the contextual ribbon we’ll open the add labels menu and I’ll choose contour multiple. I will then click and drag across a couple contours to add some labels. I’ll press escape a couple times to jump out. We can see those labels onscreen.
Let’s pan the drawing over. In this file, I have a proposed alignment called Burton Avenue. Let’s create a surface profile along this alignment. We’ll do that by selecting the alignment and then from the launchpad panel, I’ll choose surface profile. I’d like to use the Burton Avenue alignment to sample the existing ground surface. I’ll click add to create the profile. Once the profile’s been created, I’ll choose draw in profile view, create profile view, and then I will click to place the profile view over here to the right. Now, once the profile’s been created if I zoom in, we can see what appears to be an anomaly in the surface. In fact, if I pan over, we can see that onscreen. This is something I may want the surveyor to review. Also, if I pan this up, you can see I don’t have enough surface data to complete the profile for this alignment. At this point, I would ask the surveyor to verify the data that was sent and also request some additional topography. For right now, I’m going to save this drawing and then we’ll drop back to the X-TOPO file.
Now let’s assume we just received an updated LandXML file from a surveyor. Before I insert that TOPO, I’m going to hide the existing ground surface. I’ll do that by selecting it. We’ll go back to the properties palette, and I’ll change its style to no display. I’ll press escape to deselect. I will then insert the new topography by going to the insert ribbon tab. I’ll choose LandXML. I’ll select V2 and I’ll click open and OK. We can see the updated topography. The anomaly appears to have been corrected. We’ve got additional TOPO down here to the south. In fact, one thing that also has changed that we can’t see, the datum has been updated in the surface as well. If I come over to the prospector tab under the surfaces group, we can see that we have three surfaces in the [inaudible 00:05:43] now.
Ultimately, what I’m going to do is remove the V1 data from EG and replace it with the V2 data. We’ll start by hiding V2. I’ll select that surface. From the properties palette, I’ll change its style to no display, and I’ll press escape. I will then right-click on the existing ground surface, and I’ll come down and choose select. Once it’s selected, we’ll go to the properties palette, and I’ll set this back to existing one and five so we can see it onscreen. While the surface is still selected, I’m going to come up and choose surface properties, and on the definition tab we can see where the V1 surface was added. I’m going to right-click on that operation and choose remove from definition. I will then choose OK and OK, and when I rebuild, what are we gonna see? Nothing. Because that surface is now empty. Let’s expand the existing ground surface now. I will then right-click on edits. I’ll choose paste, and we’ll paste in the V2 surface. I’ll click OK, and the EG surface now reflects the updated topography. I will then save the drawing, which updates the data reference and will subsequently update any affected drawings.
We’ll test that by jumping back to PLOTS, where I can see that my data reference needs to be synchronized. Selecting the hyperlink updates the surface contours, it updates the profile, and we can see that the labels are also retained. Likewise, any other related items like Earthwork calculations, rim elevations, corridor targets, relative feature lines and their respective labels would also update automatically with the change in the surface.
So if your project includes the transfer of surfaces as LandXML files, consider using this pasting technique to ensure that updates can easily be imported and propagated throughout all of your project files.


