

If multiple in a simple 3D assembly requires the same dimensions or slopes, it may be possible to share their common parameters. By sharing parameters, design changes become much more efficient because one subassembly part can be used to drive the properties of several others. In this session, we’ll learn how to share subassembly properties using a concept called output parameters.
On my screen is an empty drawing. Let’s assume I am planning to build a corridor model representing a roadway design. To do that, I’ll start by creating an assembly. I’ll open the assembly menu, and I’ll choose to create an assembly. I’ll give the assembly a name, for this example I’ll just call this sample, and I’ll keep the default styles. I’ll click Okay and then I’ll click to place the assembly on screen. Next, I’ll select the assembly and then from the launchpad, I’ll bring up the tool pallet where I can select subassembly parts to start building out my road section.
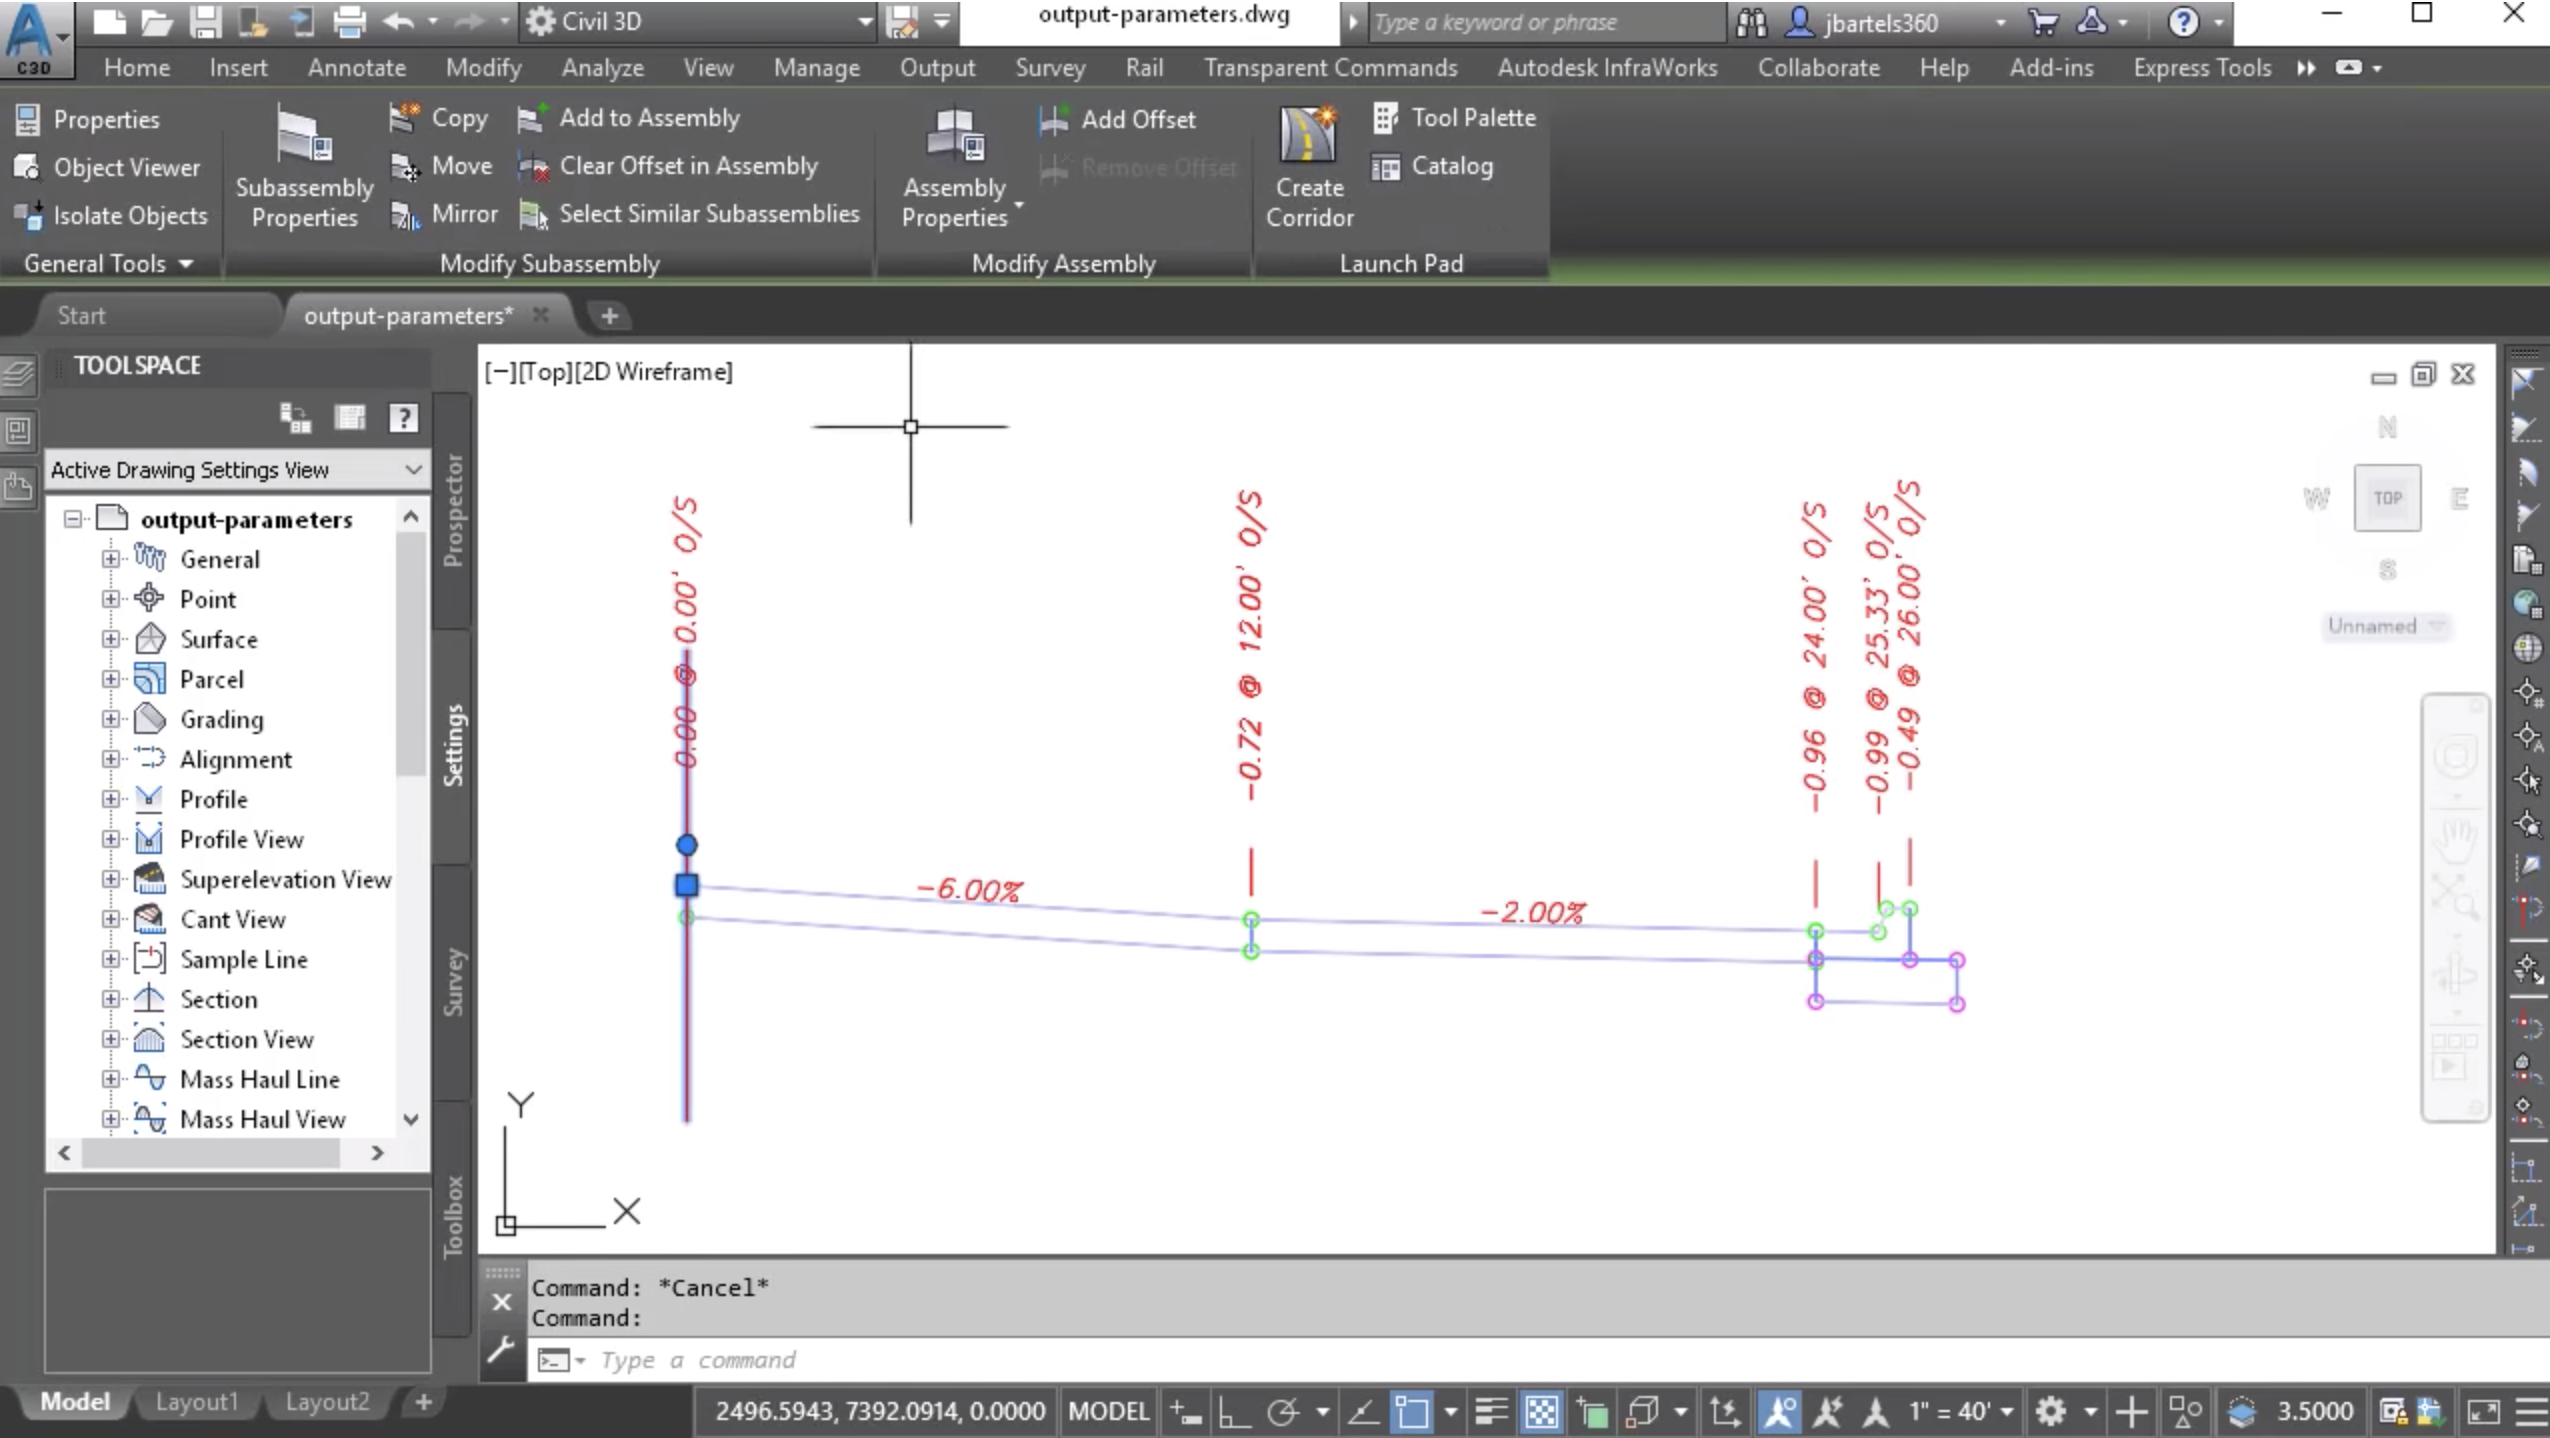
From the basic tab, I’m going to choose the basic lane and then I’ll zoom in and add one of these at the insertion point. Let’s add a second lane to the outside of this one. I’ll press Escape and then I’ll just to the curbs tab. I’ll select the urban curb gutter general and I’ll snap one of these to the outside. I’ll press Escape when finished. Now a good [inaudible 00:01:10] that I should have a unique name for each of these objects. To do that I’ll select the first lane and from the properties pallet, I’ll call this lane one. I’ll press Enter and Escape. I’ll select the next lane and we’ll call this lane two. And then I’ll select the curb and gutter and I’ll call this CG. I’ll press Escape when finished.
Now let’s assume I’d like both of these lanes to have the same slope. Knowing what we know now, I could select this lane, go to the properties pallet. And down here under the input parameter, I could change the slope to -6% but then I’d have to come through and do the same thing to the next lane. Instead, I’d like this lane to acquire its slope from the lane next to it. Just for a second, let’s go back to the basic tab and I’m going to right-click on the basic lane that we used. From here I’ll choose Help. I do that to bring up the documentation associated with this part. In here we’ll find input parameters, these represent the dimensions that are assigned to the part that control its shape.
Next, are the target parameters, this is where we can see any horizontal, vertical or surface targets that can be used to drive the shape of the part. As you can see, we don’t have any in this case. Down below, we’ll find any output parameters. Output parameters represent values that this part can pass to other subassembly parts. Note that by reviewing the help documentation, you can easily identify available output parameters for all of the out of the box Civil 3D subassembly parts. Let’s close this and I’ll close the pallet.
To have this lane acquire the slope from this lane, I’m going to select the assembly. And from the contextual ribbon, I’ll choose assembly properties. I will then select the construction tab. Here we can see a tree view showing us how the assembly was built. Right here’s the baseline, here we can see the right side, and here we can see the order in which the parts were added, lane one, two and curb and gutter.
I’m going to select the lane two component. When I do, I can come over to the right and over here I could assign a slop if I wanted to. Notice there’s a toggle, I’m going to select that. Selecting the toggle means I’d like to acquire this value using an output parameter. I can then choose the parameter using this menu to the right. For this example, I’d like to acquire the lane one slope and I’ll click Okay. You can see the change on the screen. That means, from now on, if I was to change the slop of this first lane. Let’s do that, I’ll change this to 2%. You can see how that slop is passed to the lane next door.
Let’s try another. Maybe I’d like these lanes to have the same depth. Once again I’ll select the assembly and I’ll go to assembly properties, the construction tab. I’ll select lane two and I would like its depth to be driven by the lane one depth. Let’s click Okay and Escape. Now if I select that first lane and adjust its depth property, let’s make this 1.5 for example, when I press Enter you can see how that depth is applied to both lanes.
Let’s do one more. Maybe I’d like the gutter slop of my curb and gutter to match the lane slope. We’ll go back to assembly properties, construction tab. I’ll select the curb and gutter subassembly part and then for the gutter slop, rather than assigning a slop here, I would like to use an output parameter. When I open this up, notice that I can select output parameters from either of the two prior objects. For this example I’ll choose lane one slop since both of the lane slope are identical. When it comes to output parameters, it’s important to note that they can only be obtained from a subassembly part that exists before the one that you selected. I’m going to click apply and as an example, if I choose the lane one subassembly part and try and use an output parameter, you’ll see that none exist because there are not parts before lane one here on the right side.
I’m going to click Okay, I’ll press Escape and we’ll make one more change. Let’s select the first lane and I’m going to give this a slop of -10% just to make it obvious. When I press Escape, you can see how that slope was passed to lane two and it was passed to the curb and gutter slope.
So the next time you’re working with subassembly parts having similar dimensions, consider using an output parameter to apply those dimensions automatically. The more output parameters you can leverage, the easier it can be to make future changes to a design.


