
In this session, we’ll look at how to migrate a surface model from InfraWorks to Civil 3D. Once again we’re picking up where we left off in the last session. In that session, I imported a point cloud that I created using Recap Photo into this InfraWorks model. From that cloud, I extracted a bare earth surface, such that I could improve the accuracy of the existing ground. If you’re interested in reviewing the workflows that led up to this point, I will leave a link to the playlist in the description for this video.
Now that I have a more accurate version of the existing ground, let’s assume I’d like to use this surface to create some conceptual profiles, or conceptual earth work calculations. To do that, I’ll need to have access to this surface from within Civil 3D. Fortunately, migrating a surface from InfraWorks to Civil 3D is easier than you might think. Let’s take a look.
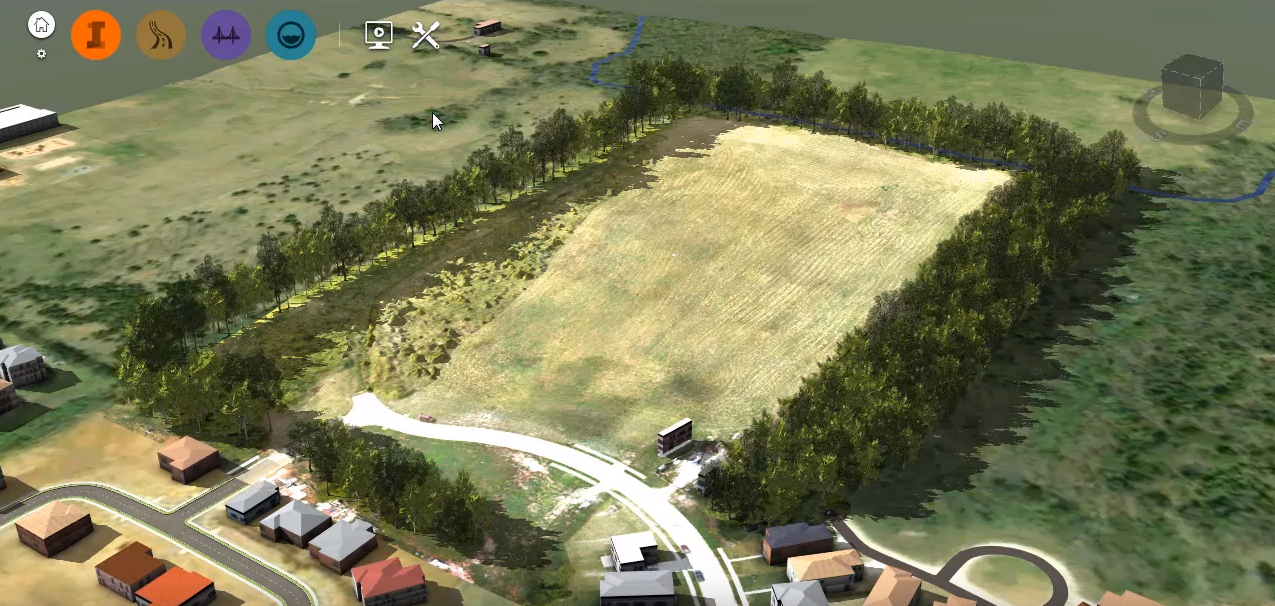
First, we’ll do a little housekeeping. I’d like to review the coordinate system that’s assigned to this InfraWorks model. We’ll do that by opening the settings, and then I’ll click model properties. I apologize, this dialogue box is a little bigger than our screen. Right here, you can see the coordinate system. It’s the same Arkansas coordinate system we’ve been using since the beginning. I’m going to close this dialogue box, and then I’ll close the settings.
Next, let’s look at where this model is stored on my local machine. I’ll do that by jumping back out to the home screen. I will then find the preview tile that represents the model I’m interested in. And then I’ll hover over this icon in the lower right corner. As you can see, the model is stored in the My Documents folder under a direct recall 411965. Knowing where this model is located will come in very handy later when we select the model from within Civil 3D.
At this point, I’m finished with InfraWorks. So let’s close the application, and we’ll jump over to Civil 3D. Here in Civil 3D I’m in the drawing containing those ground control points that we used in the previous sessions. To bring in that InfraWorks surface, I’m going to select the auto desk InfraWorks ribbon tab, and then I’ll choose open model. In the dialogue box, I’ll click the open button, and I’ll navigate to that folder containing the model. As you can see, I’m looking in that folder called 411965. From here, I’ll select the sequel light file, this represents the InfraWorks model, and I’ll click open. We can then see the coordinate system assigned to that model. Just below we can see the coordinate system assigned to my Civil 3D drawing, happens to be the same coordinate system.
That said, if I wanted to assign a coordinate system to the drawing at this time, I could do that by using this button. I will then come down to selection area, this is where we select the area from our model that we’d like to extract the data, we can do it via extents, or a smaller area of interest. I’m going to go with extents in this case. I’m not going to make any adjustments to the object settings. I am going to do one more thing though, I’ll choose refine selection set. This gives me a chance to select the specific objects that I’d like to incorporate into this drawing. For this example, I am only interested in that existing ground surface.
When the dialogue box comes up, we can drag up and down and see the items that we could bring into Civil 3D. For right now, I’m going to unselect all, and then I’ll select only the existing ground surface. I’ll click OK, and open model. As you can see, the surface now exists in this drawing. Let’s add a quick boundary. I’ll do that by going to the home tab, and I’ll launch the rectangle command. And I’ll create a rectangle around our site. I’ll then come up to modify, I’d like to modify a surface. I’m going to add data. I’d like to add a boundary. We’ll call this clip, and I’ll click OK. And then I’ll select that rectangle.
Let’s zoom in. Now, if you remember from the previous sessions, this surface was created from aerial photos. Let’s see how closely the elevations match the ground control points in this drawing. I’m going to zoom in on point number 30, and then we’ll add a surface label. I’ll do that by selecting the surface, and then in the contextual ribbon, I’ll choose add labels, and I’ll select spot elevations. And I’ll place a label here at the node. When I do, you can see that the elevation is within five hundredths of the surveyed elevation.
Let’s pan over to point 31 and I’ll place another label. Here, we differ by about eight hundredths. Moving over to control point 32, we can see that we within six hundredths of the actual elevation. Finally, we’ll look at control point 33, where we differ from the surveyed elevation by about a tenth.
When I’m finished, I’ll press escape a couple times, and then we’ll do a zoom extents. So, this surface is not perfect, but it’s not too bad either. This is probably a good time for me to mention that a surface created from images is not meant to be a replacement for surveyed topography. Image based surfaces simply represent another tool that you can leverage in the early stages of a design. When created in conjunction with surveyed ground control points, these surfaces can be a great alternative to a traditional US/GS model, providing more detail much earlier, allowing you to make more informed design decisions while you await an official topographic survey.
Now that we’ve reviewed the surface, I’m going to turn on the Bing imagery in the area of this site. I’ll do that by jumping over to the geolocation ribbon tab, and then in the online map panel, I’ll choose map aerial. And when I do, you can see the conditions at this site have changed since we started working on this project. My drone based surface is now outdated, and needs to be revised.
Fortunately, this isn’t problem. By using a combination of Recap Photo, InfraWorks, and Civil 3D, as well as some fresh drone images, I can produce an updated surface model whenever the site conditions require it.


